GTO Click System - Installation Video
GTO Universal System - Installation Video
Click Beam System - Installation Video
Need technical support?
Rail has bent teeth.
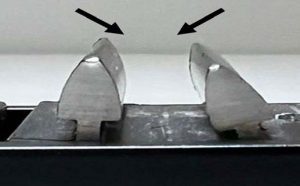 SOLUTION: When drilling screws directly in between the teeth of the rails, bending may occur. If so, lightly unscrew until the teeth are straightened.
Rail has curved/crooked profile
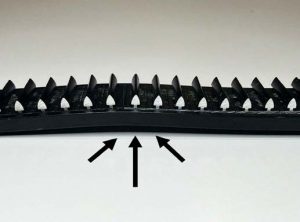 SOLUTION: If the Rail arrives and appears to be slightly crooked or curved, (Rail is a flexible material) simply drill into wall and the profile will straighten naturally.
Vertical installation of Click profiles sliding down from Rail
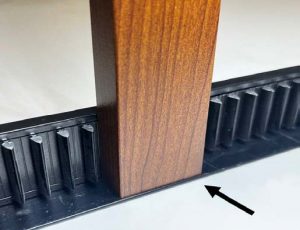 SOLUTION: If in the scenario one is installing the Click profiles vertically, when finishing the base/bottom, the profiles must either be directly touching the floor/baseboard or must be fastened with our Angle 30/30 profile in order to avoid any type of sliding.
Click profile is blocked by screw when attempting to snap into rail
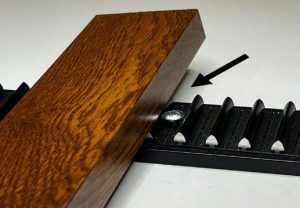 SOLUTION: If in the situation one is attempting to click into place a profile to the teeth of the Rail and it is blocked by a screw, remove the screw, and refasten it into place one tooth to the right before attempting click the profile in again. (Recommended always to calculate beforehand where the screws should be fastened before attempting the click process. )
Fastening Click profiles around electrical wall outlets
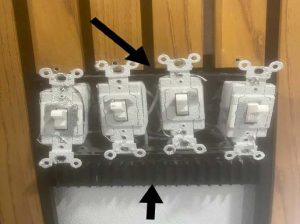 SOLUTION: Angles must be fastened directly to the top and bottom (if Vertical) or directly to the left and right (if Horizontal) on the edge of the outlet box. Additional rails must be placed within 3 inches above or below (if Vertical), right or left (if Horizontal) of the outlet box.
Creating finished corners without the need of an Angle with Click profiles Profiles
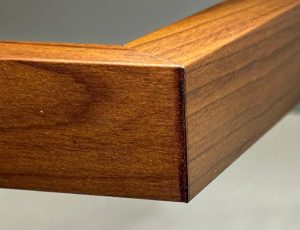 SOLUTION: In order to cut a 45-degree angle cut in the Click profile one must use a combination square, and an electric miter saw. Set your combination square on the 45-degree mark and draw the cut line. Then adjust the miter saw to 45 degrees, align it to the cut line, and gently guide the saw into and through the profile. Fasten onto the wall with the 45-degree edges touching each other.
Click profiles wall exceeds the length of the profile. Two profile ends need to be connected to each other.
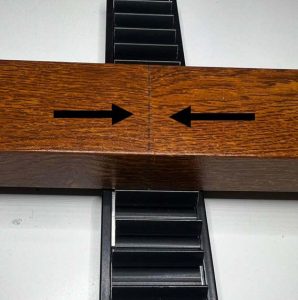 SOLUTION: When attaching two profile ends to each other, in order to extend the length, one must fasten the two ends between one rail. To fasten both ends to one rail, one must calculate the exact middle point of the rail in which both profiles will meet and directly touch each other. Make sure to calculate before installing the rail to the wall. Once measured and installed, click both profiles in the middle of the top and bottom edge of the fastened rail.
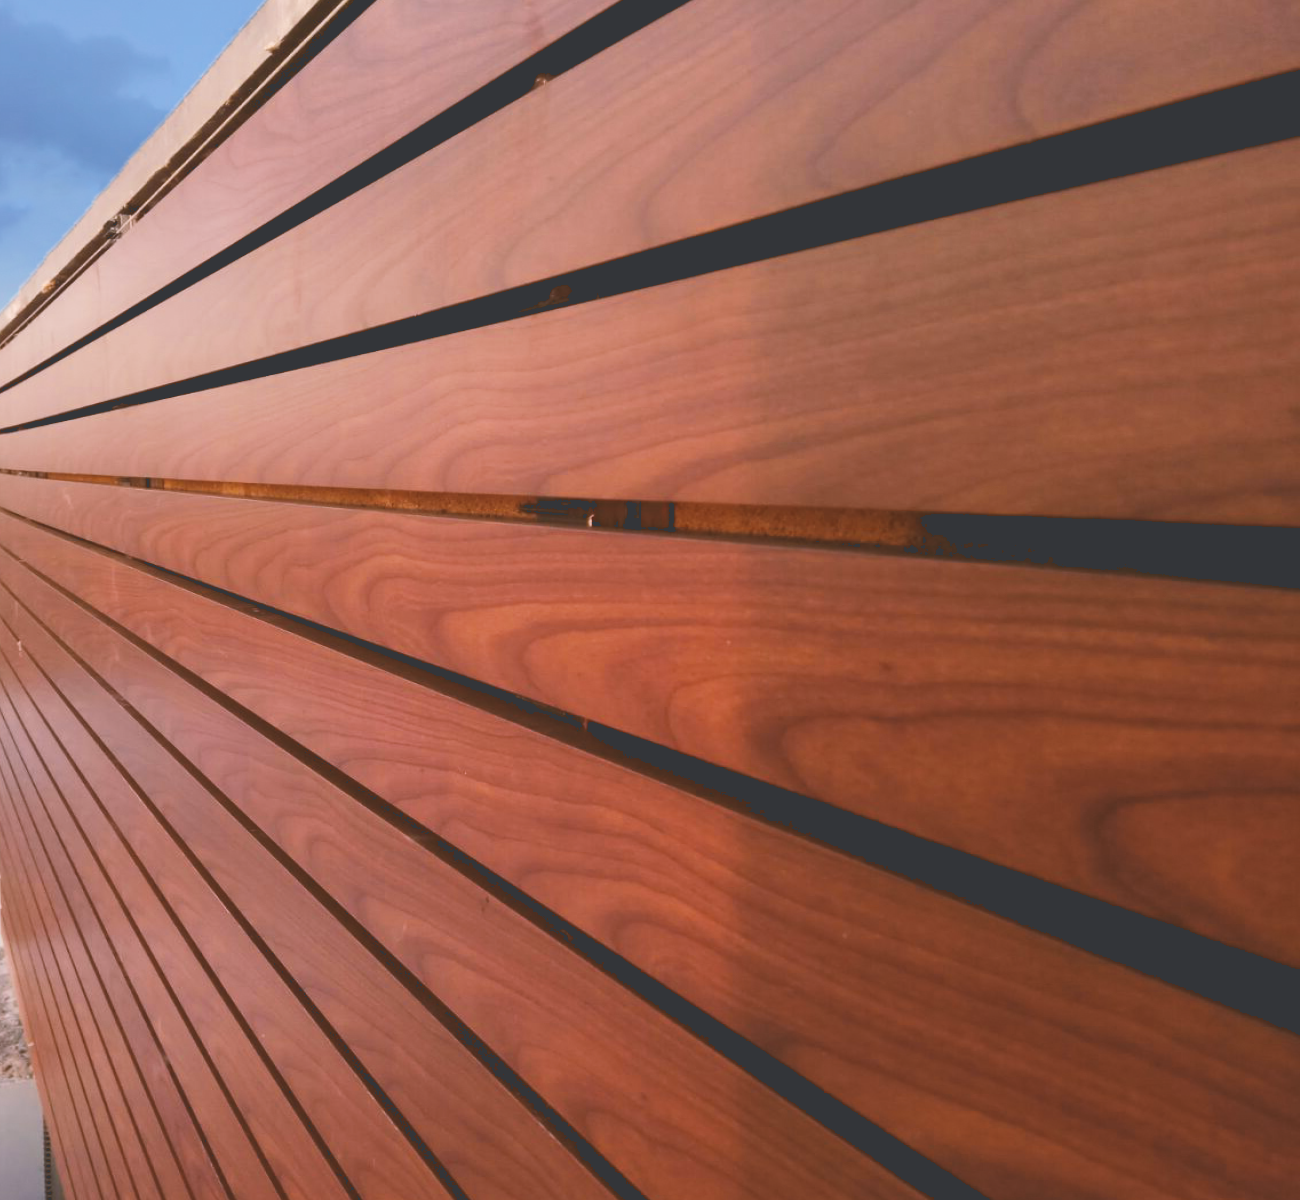
Back Wall Black / affordable “U” profile alternative
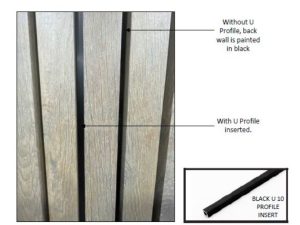 SOLUTION: Painting the back wall black instead of using U profiles is suggested when dealing with larger/exterior walls. Visually, the difference is minimal, and this adjustment could significantly reduce costs without compromising aesthetics.
DOWNLOADS
Click System Manual
Universal System Manual
Structural Manual